| Symptom |
Likely Cause |
| Console dead after grind (no power at all) |
Grind went too deep, severed DAT0 or an adjacent trace. Often unrecoverable without board-level repair. |
| LED blinks red error code |
Glitching/training failure — check SP1/SP2 ribbon cable joints and all signal wires |
| No SD Card screen, but fails to boot HOS |
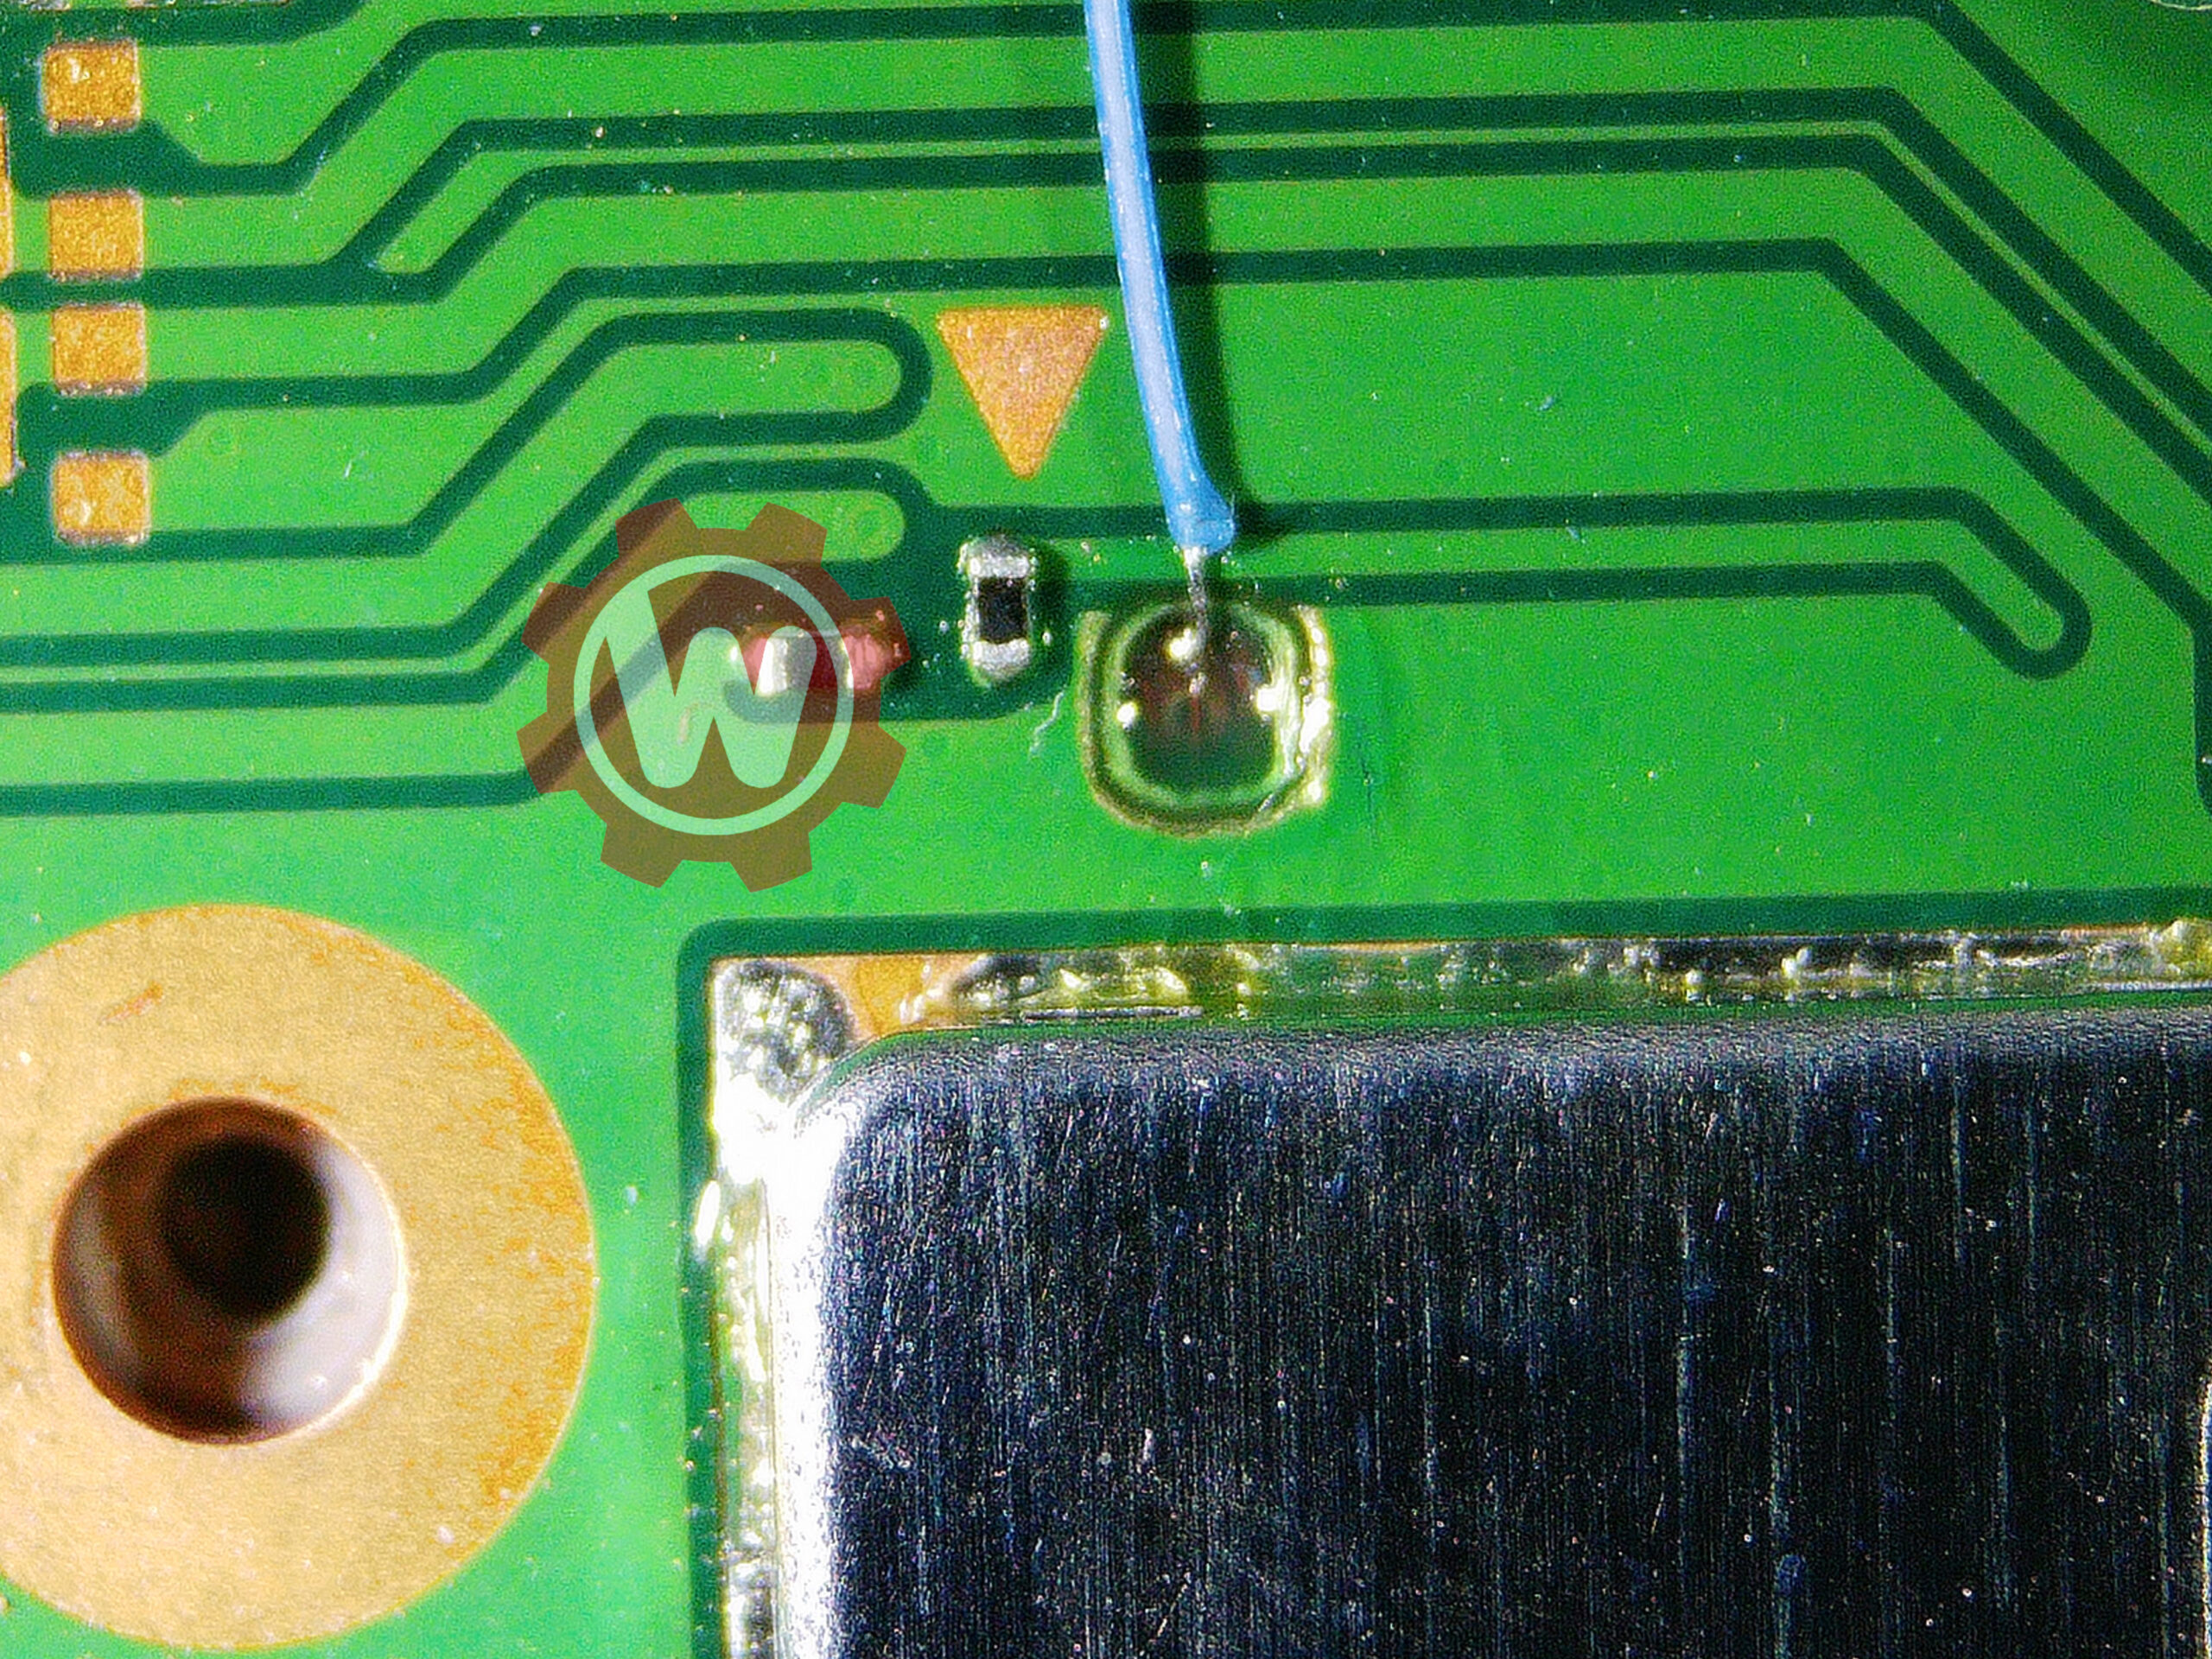
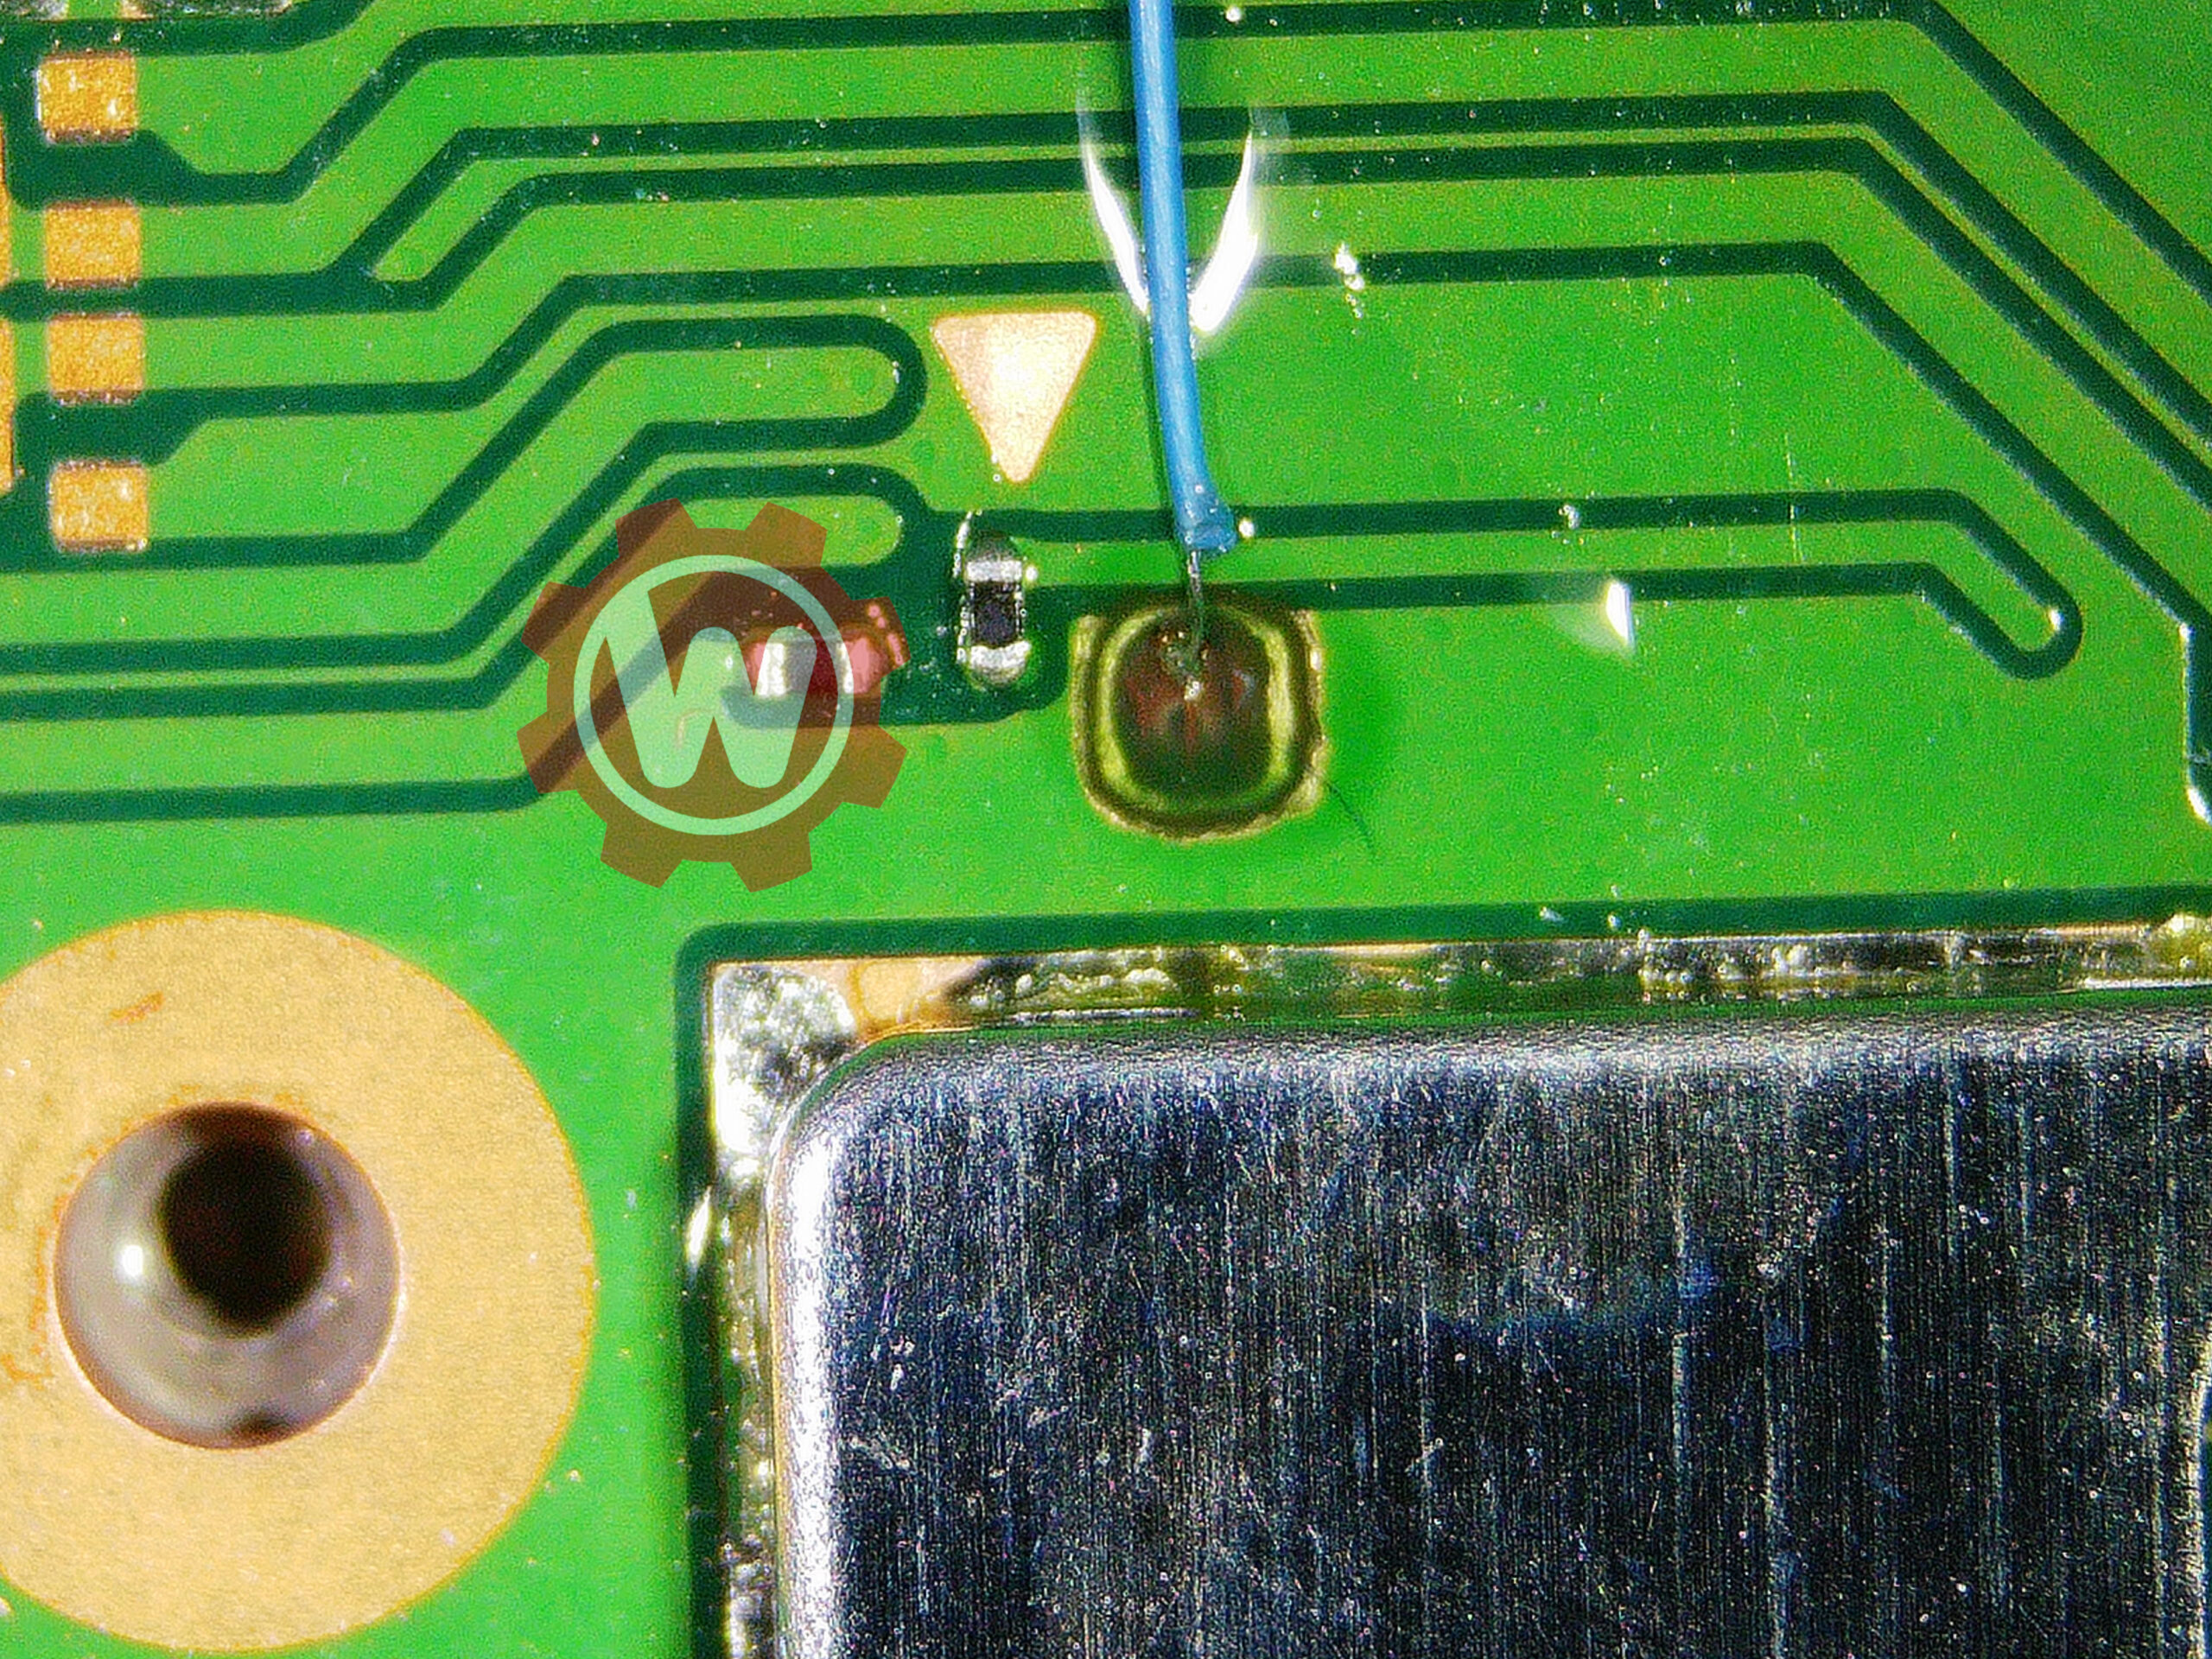
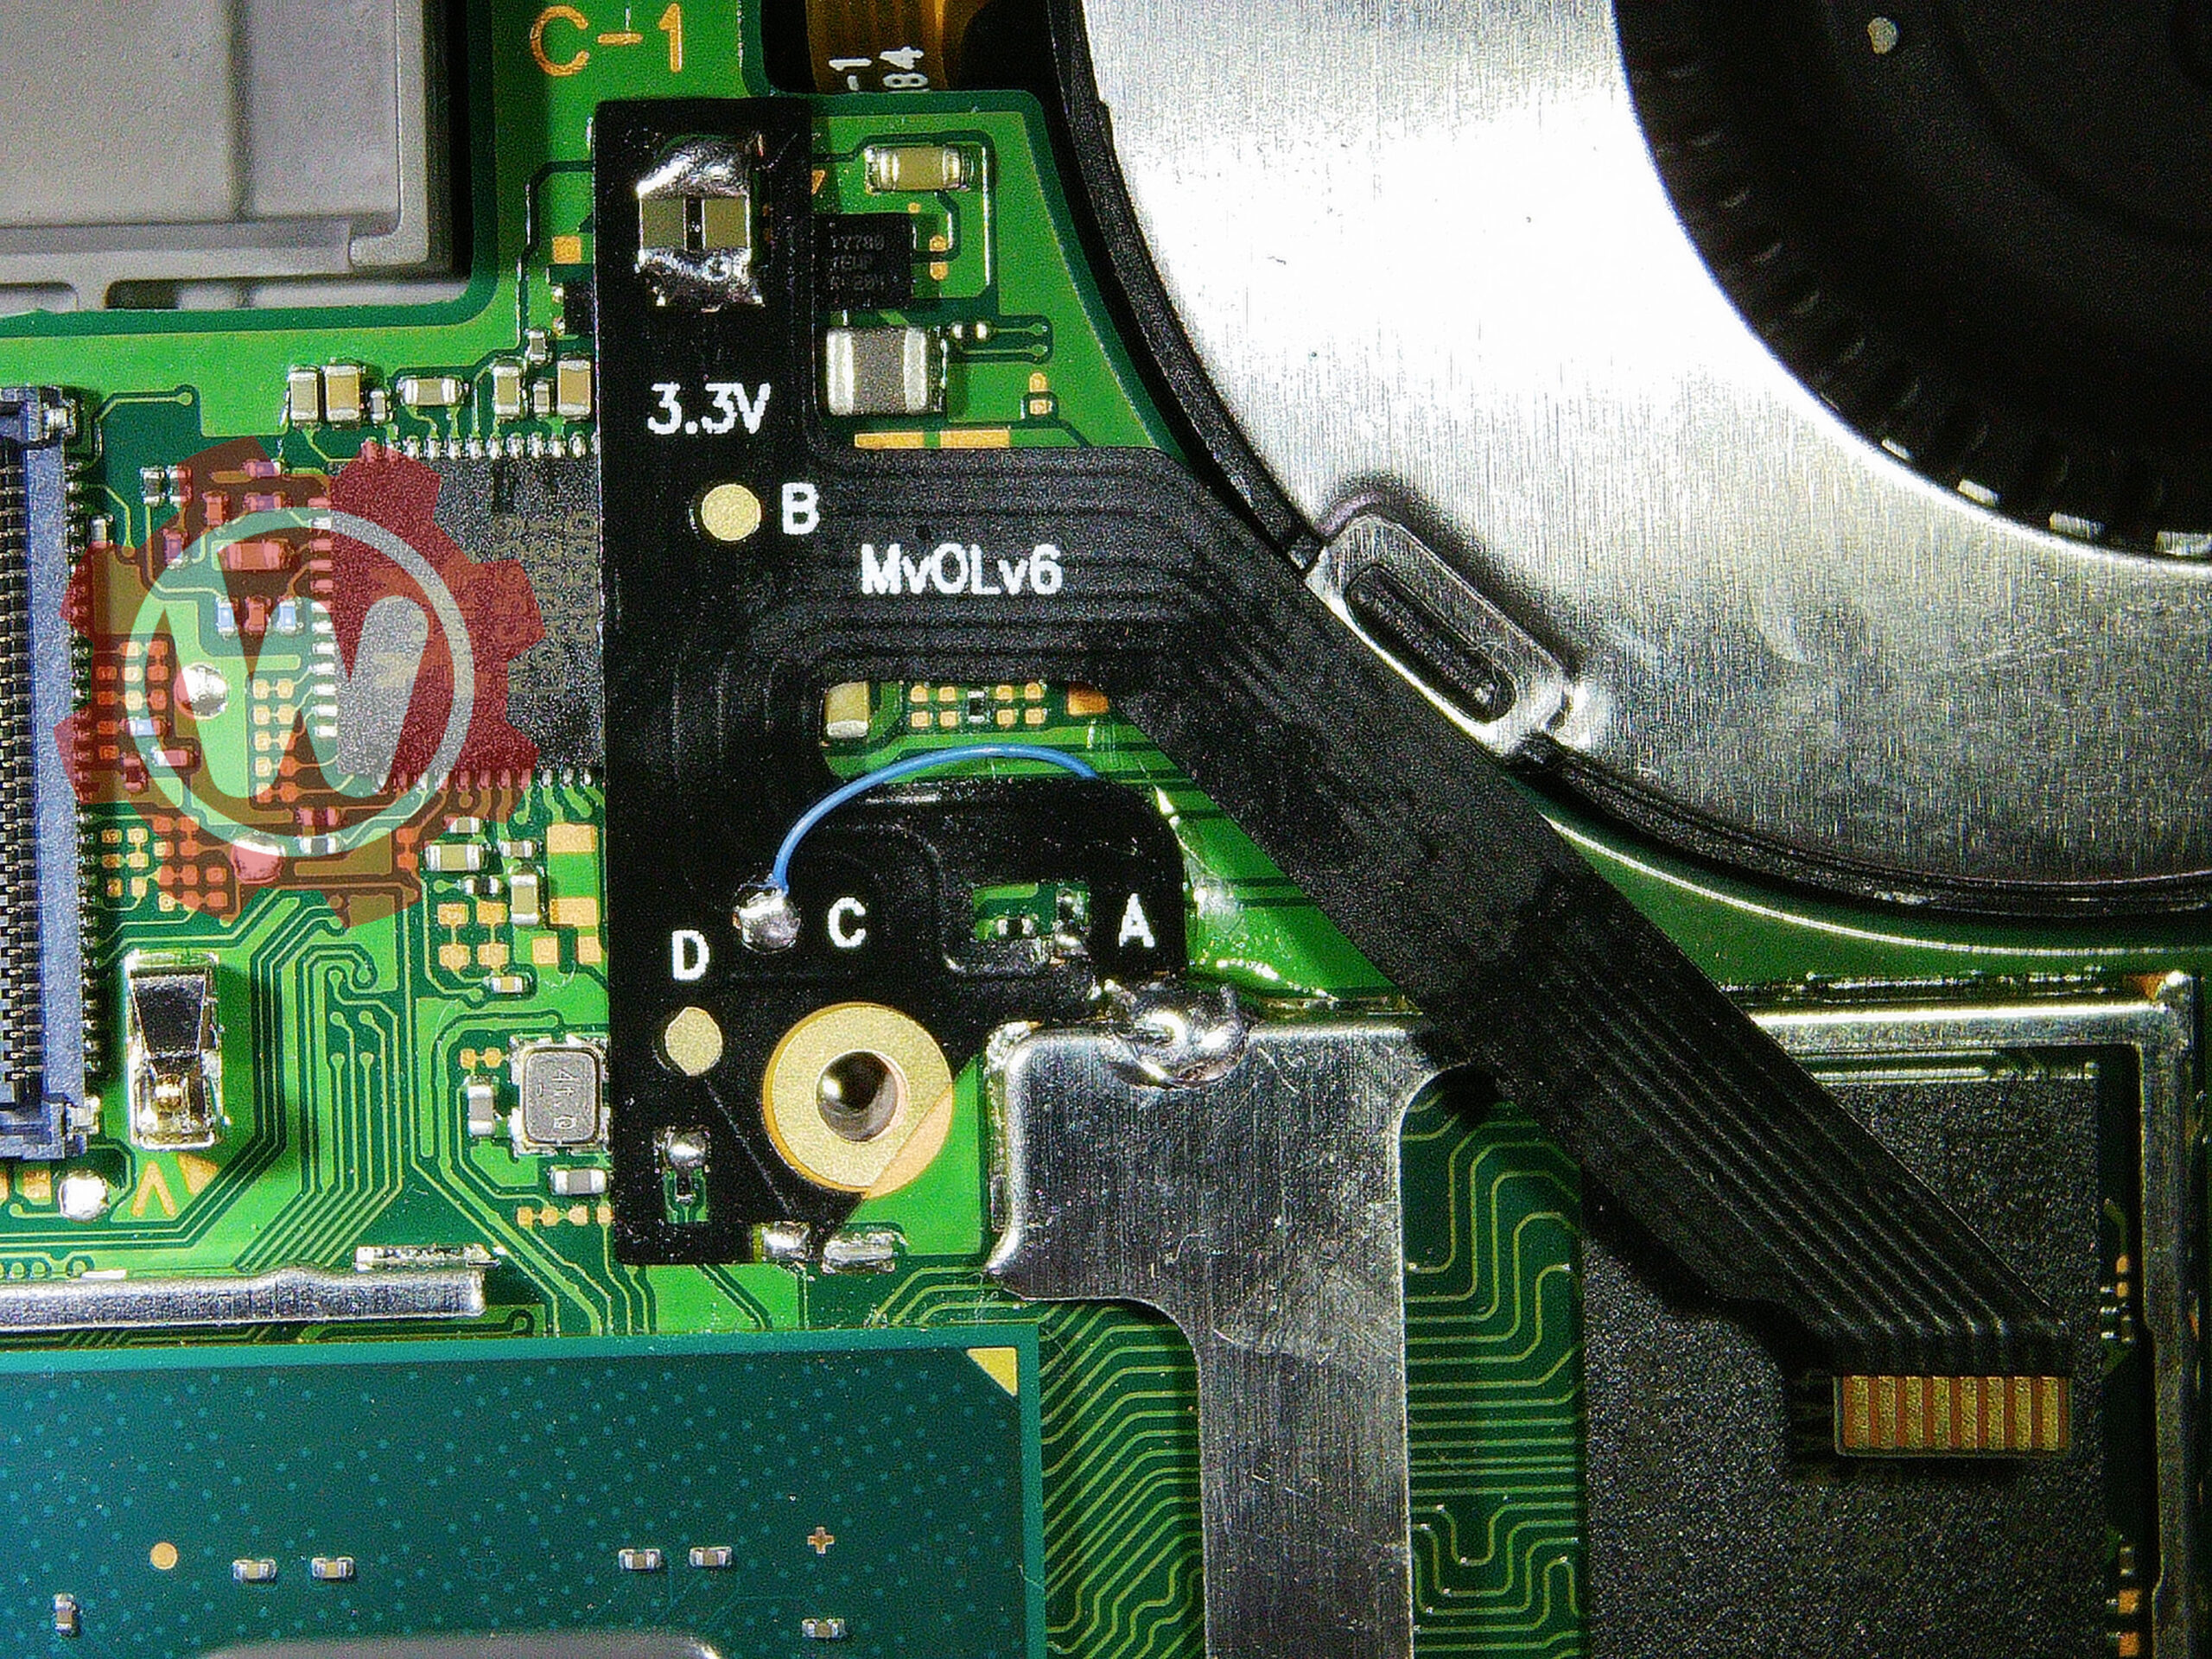
Marginal solder joints — usually the DAT0 trace connection is weak. Add more solder or rework the wire. |
| Black screen / no response |
SoC ribbon cable misaligned or SP1/SP2 joints bridged to adjacent caps |
| Intermittent or unreliable boot |
Loose magnet wire on the DAT0 trace, or marginal CMD resistor joint |
| CMD-related error |
CMD resistor partially lifted from the board or cold joint on the A point |
| DAT0 trace diode reading out of range |
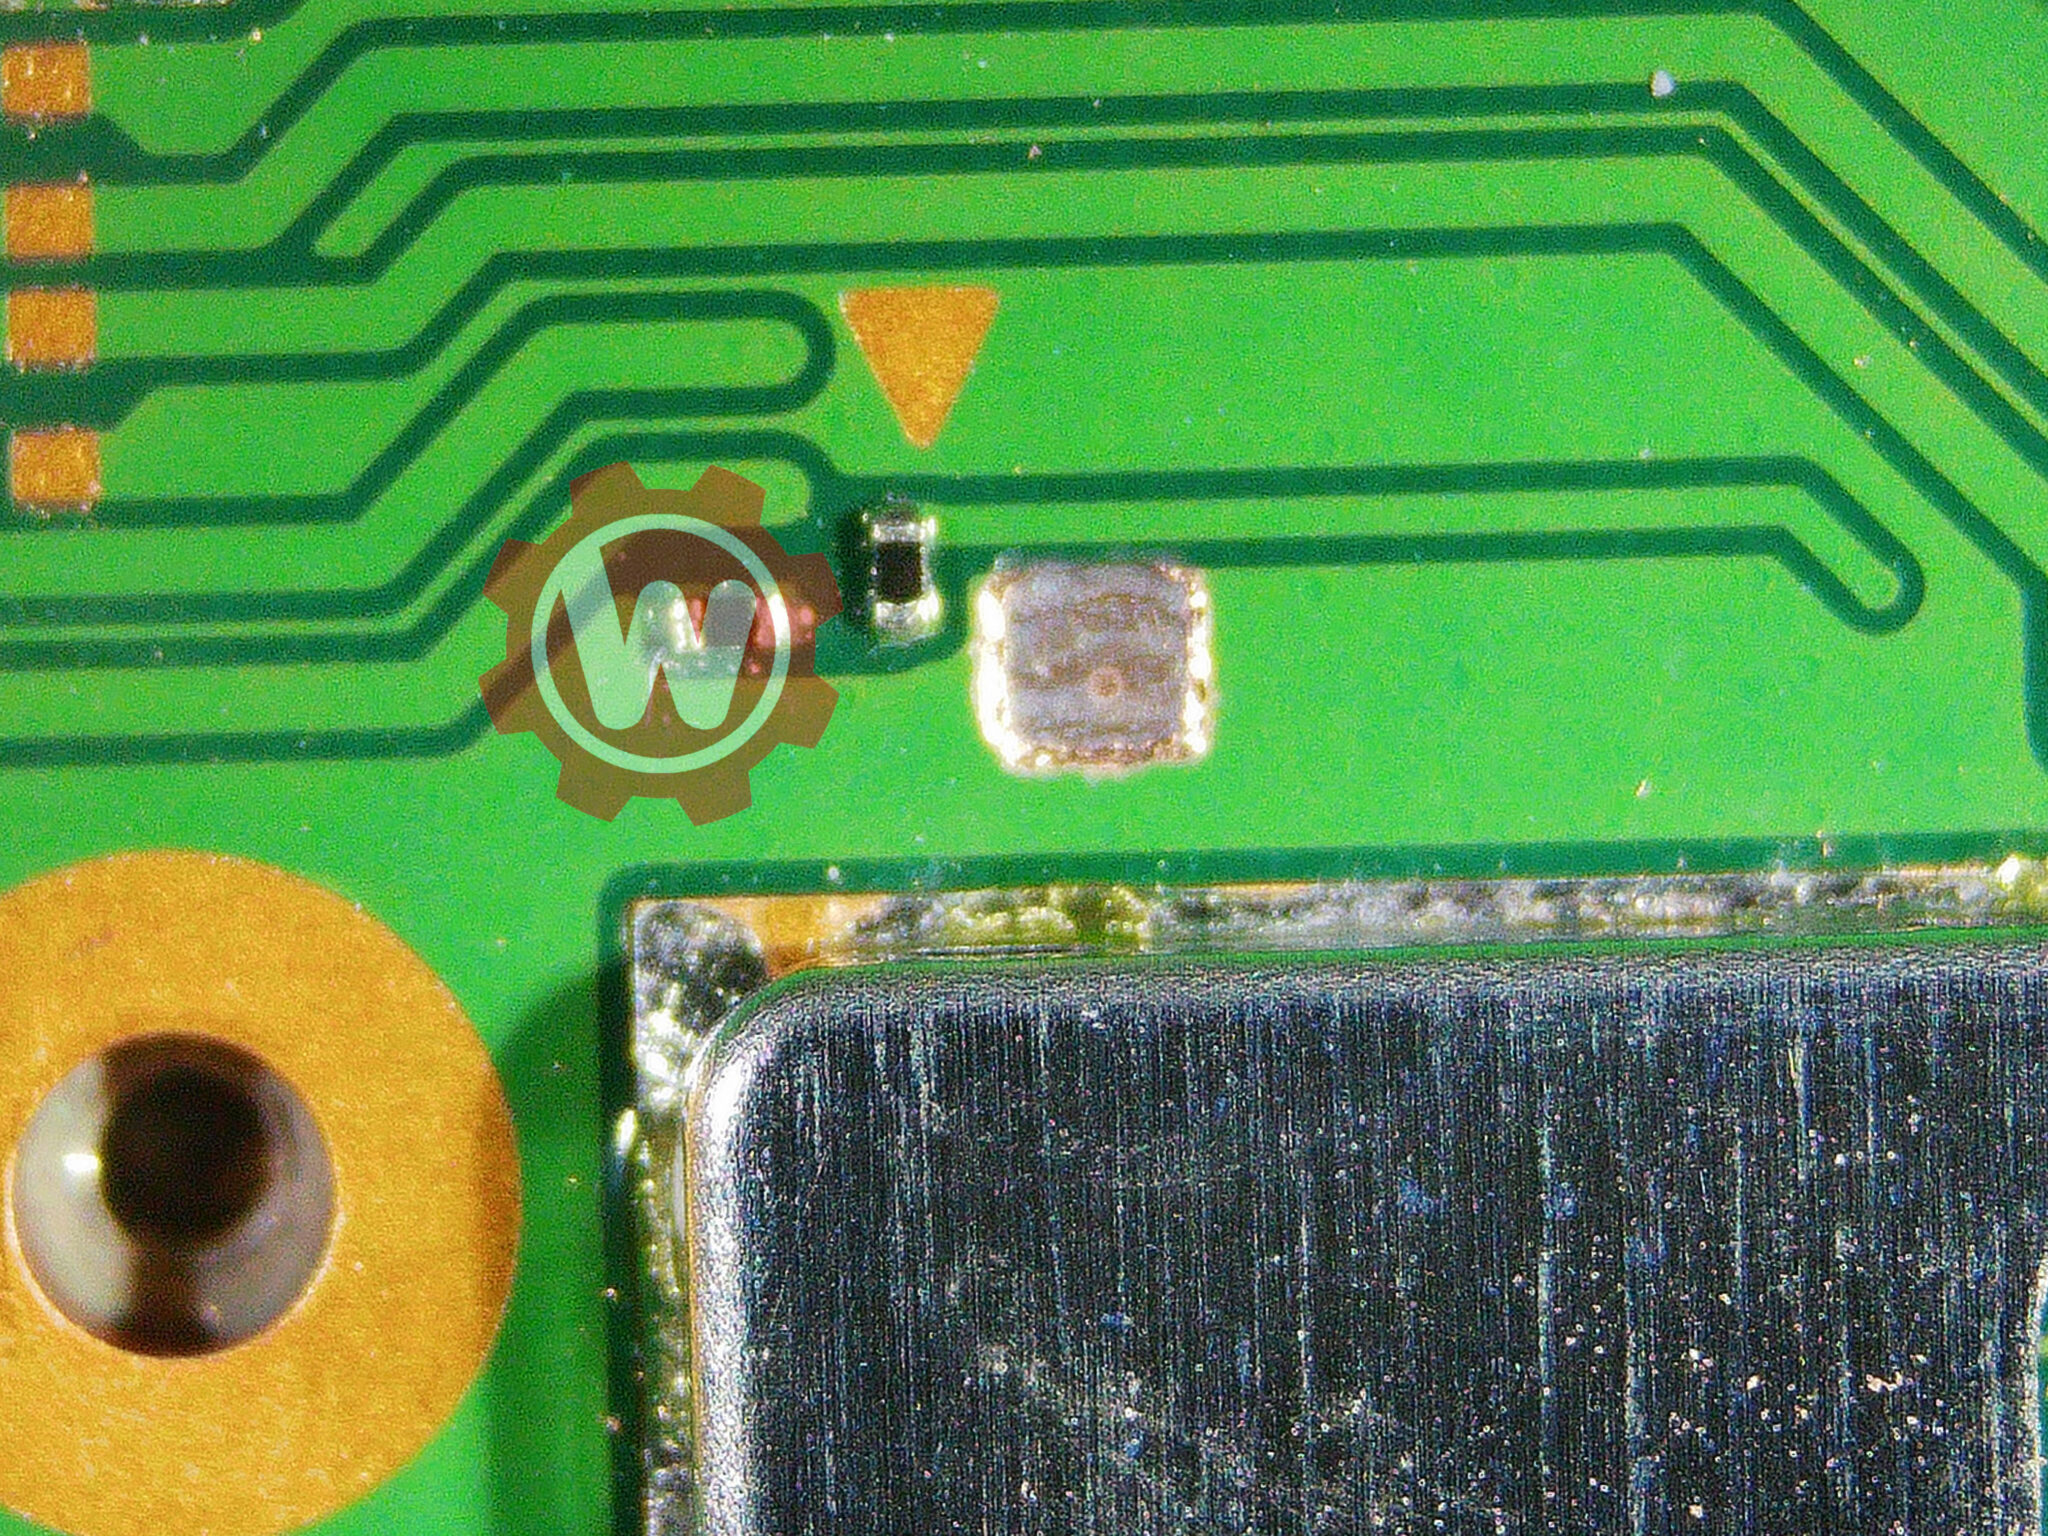
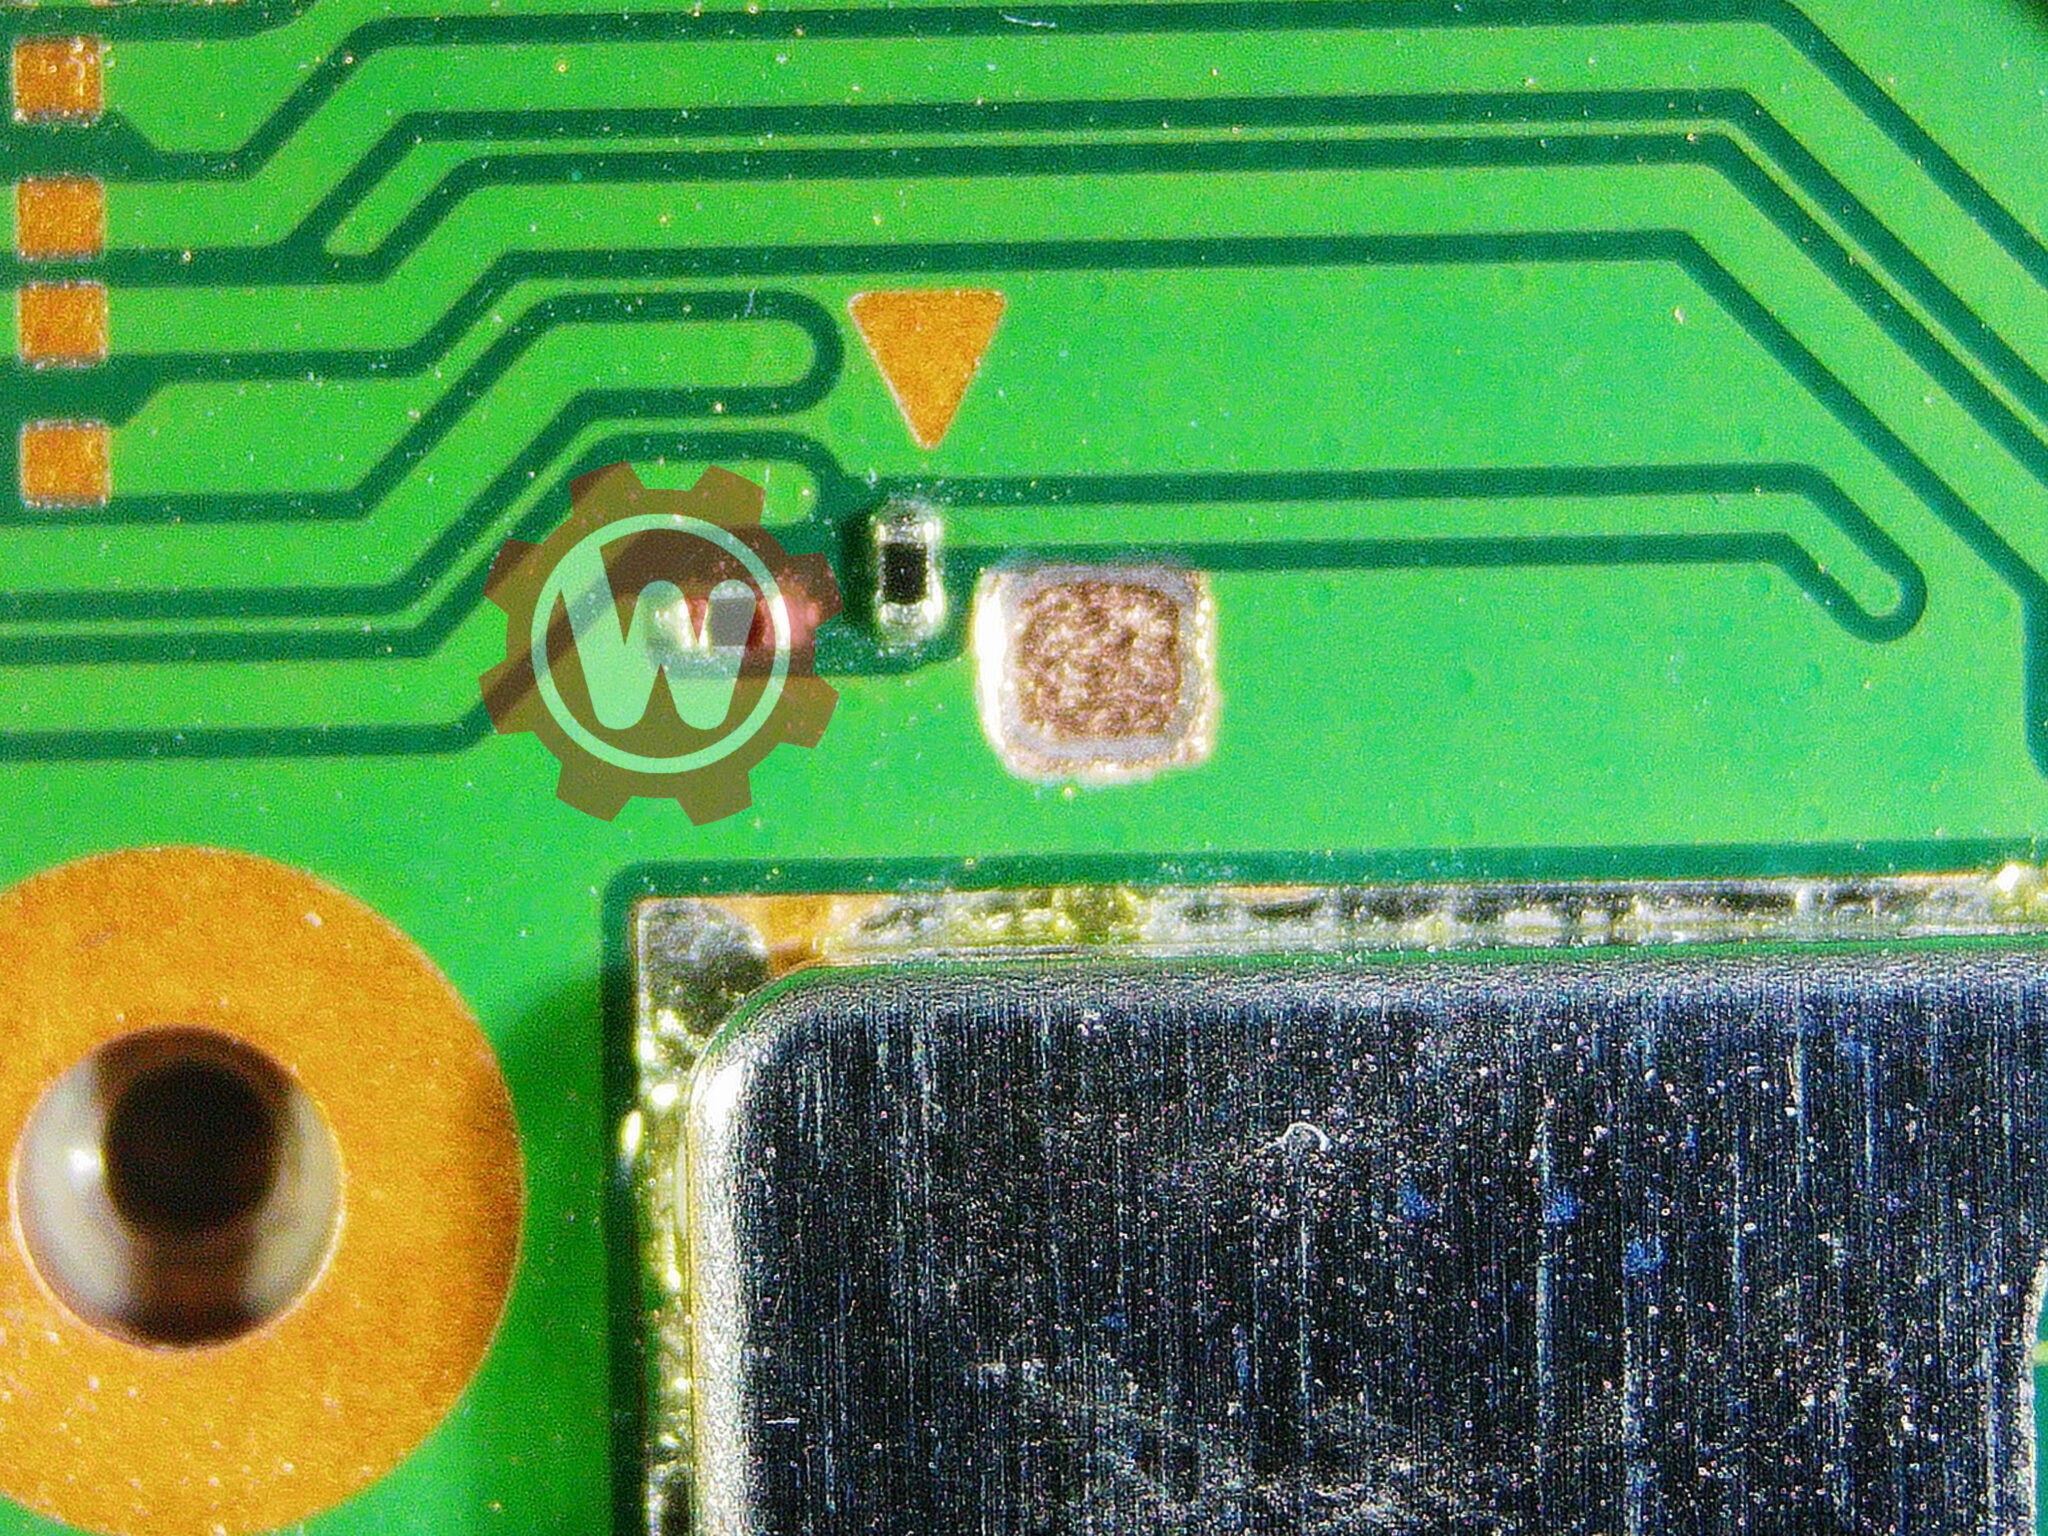
Wrong trace exposed, or trace damaged during grinding. Verify location 1mm from A point. |